If you prefer to read the instructions are below:
Apple Cider Vinegar is an all-natural product that is has a number of healthy benefits such as increasing stamina and boosting your immune system. It takes approximately 7 months time, but this Apple Cider Vinegar recipe is an inexpensive way to make it at home. Just follow these step-by-step instructions.
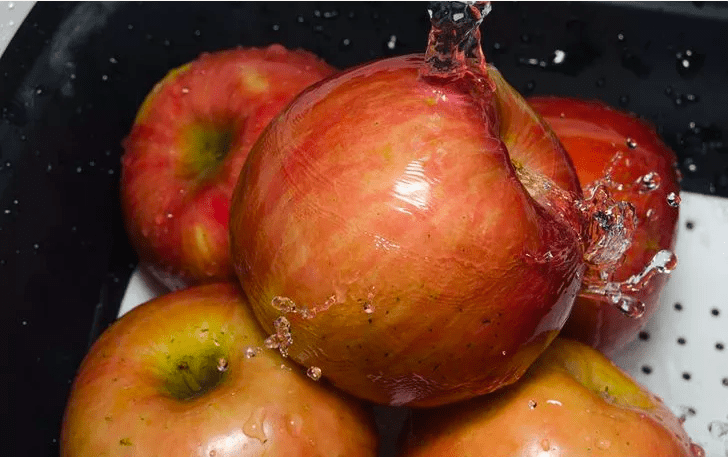
Step 1 – Wash 10 organically grown apples.
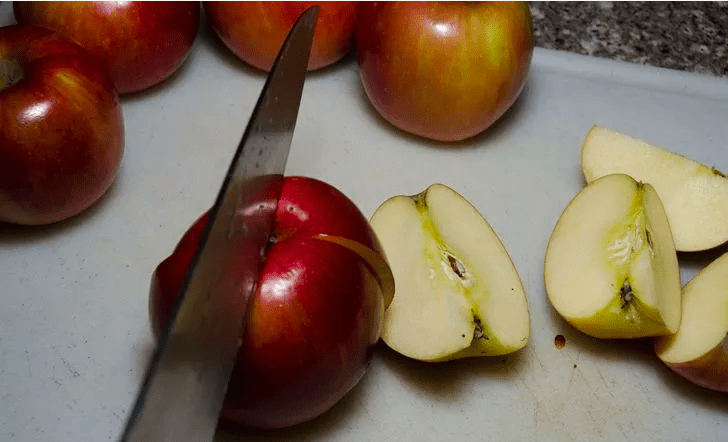
Step 2 – Cut apples into 1/4 size pieces.
Step 3 – Have apples sit at room temperature until brown.
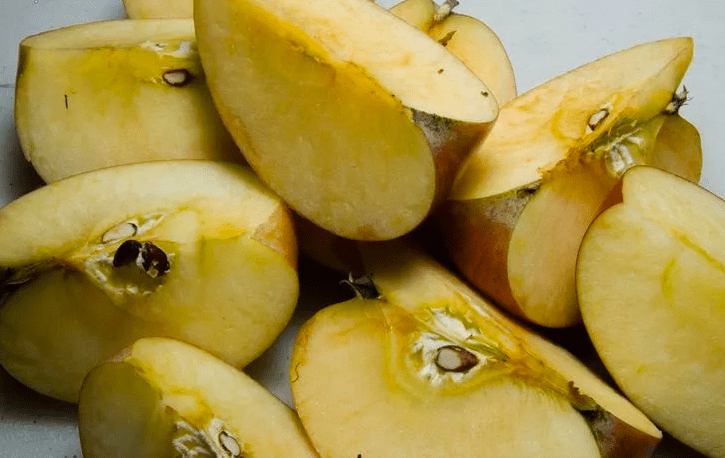
Step 4 – Put brown apples into a large wide mouth glass jar.
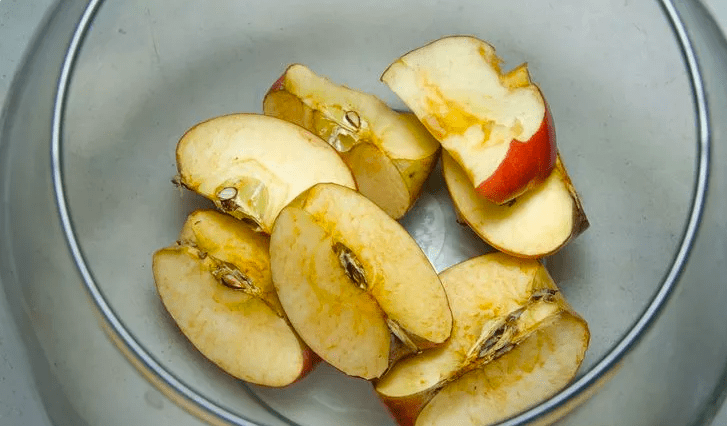
Step 5 – Pour water into jar until apples are covered.
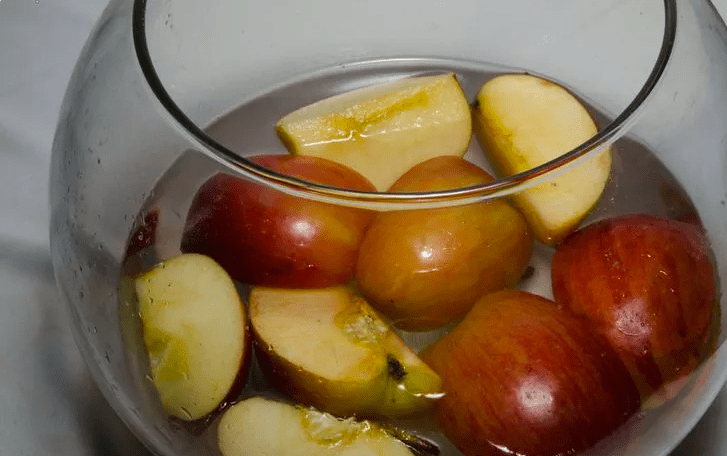
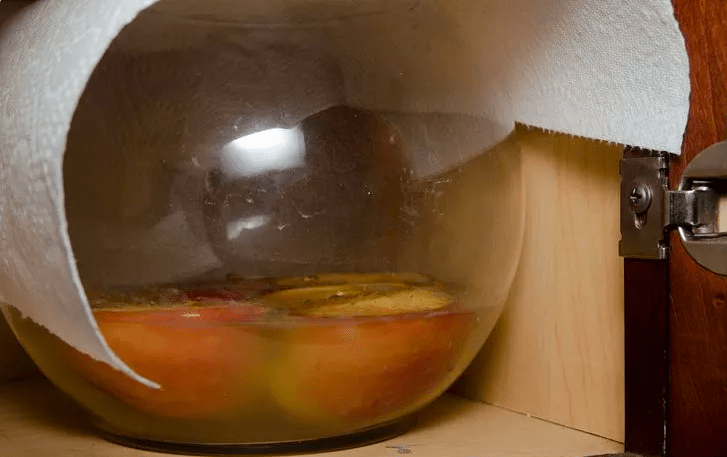
Step 6 – Cover jar with a paper cloth. Allow the cloth to rest lightly on top without securing it to allow more oxygen into the mixture.
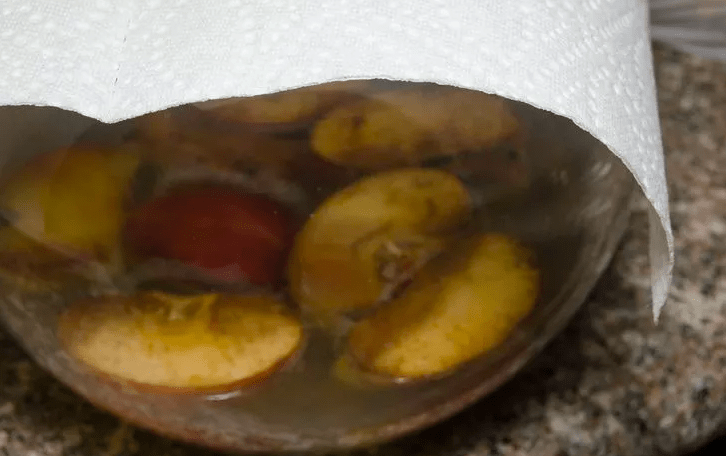
Step 7 – Put the covered jar in a warm, dark place. An attic or cupboard where it will not be disturbed is ideal.
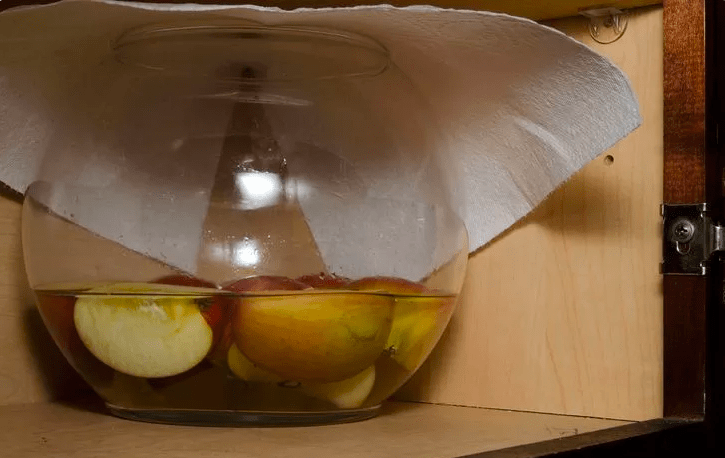
Step 8 – Let the jar sit for 6 months, stirring once per week.
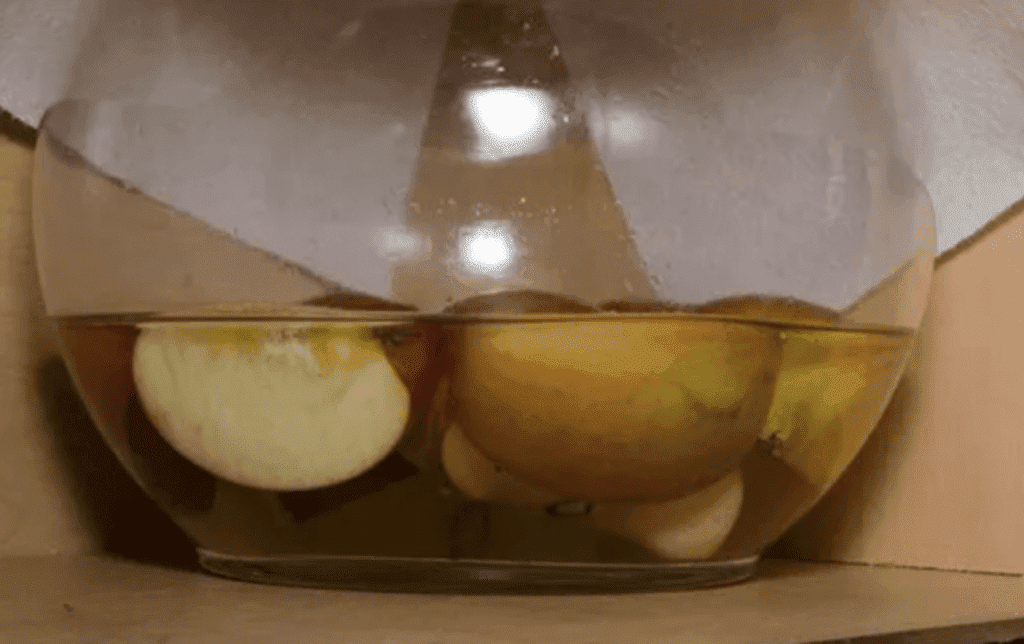
Step 9 – After 6 months retrieve the jar. There will be a layer of scum on top of the liquid. This forms from bacteria as alcohol turns to vinegar.
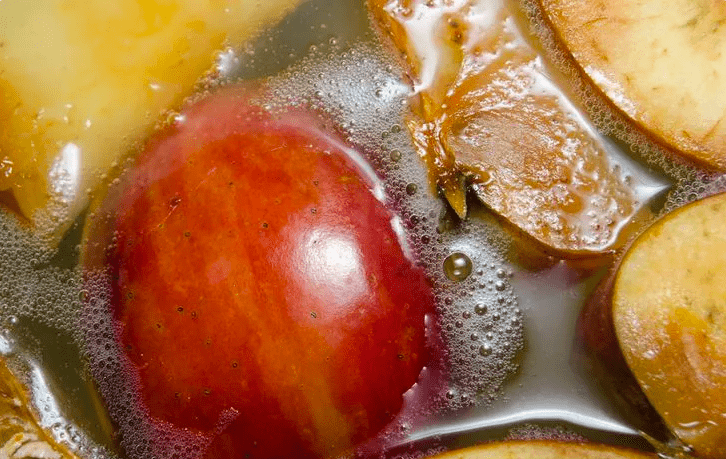
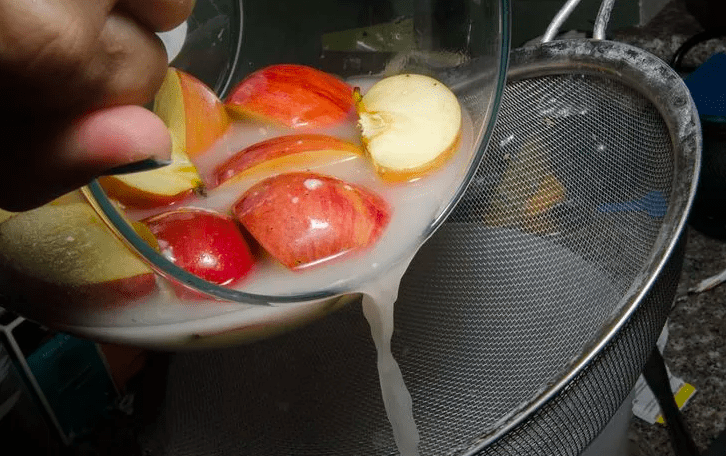
Step 10 – Filter the liquid through a paper towel into another wide mouth glass jar. It can be done by holding the paper towel securely onto the first jar. Then tip the jar until liquid flows through the paper towel into the second jar.
Step 11 – Cover the new jar of liquid with the same paper towel.
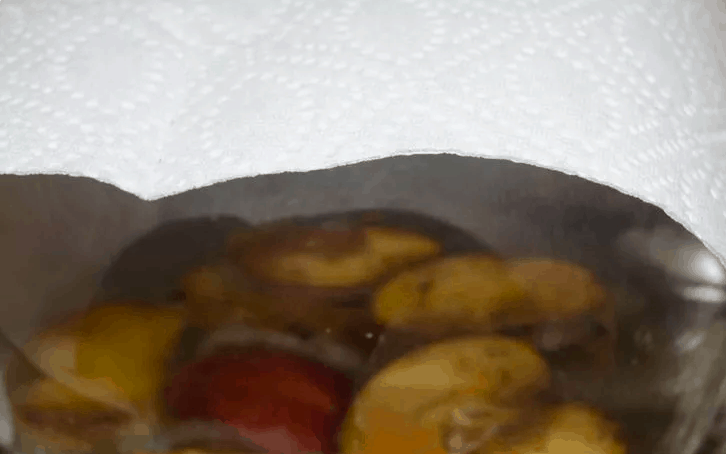
Step 12 – Let stand again in a warm dark place. Leave for another 4 to 6 weeks.
Step 13 – Transfer the fully fermented apple cider vinegar into smaller containers and store covered in the refrigerator to preserve the freshness.
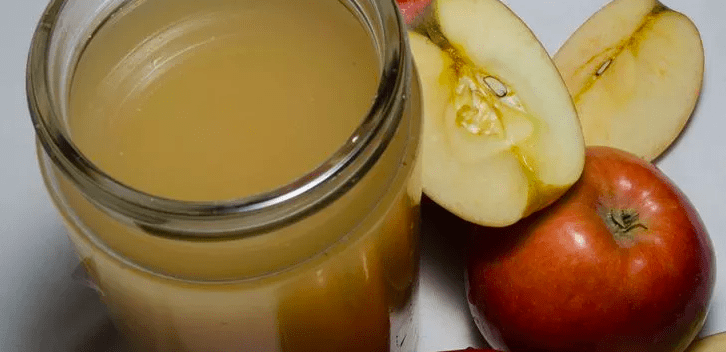
That’s all you need to do to create DIY home made apple cider vinegar. After this you can explore the many healthy and amazing uses that apple cider vinegar can bring.


